Quick Start
Prerequisites
Section titled “Prerequisites”You need:
- A desktop build of Clash for AI or a local development environment.
- At least one upstream provider or relay service.
- A tool that supports custom API endpoints.
Step 1: Start Clash for AI
Section titled “Step 1: Start Clash for AI”After launching the desktop app, Clash for AI starts a local API gateway.
The default local endpoint is usually:
http://127.0.0.1:3456/v1If the default port is occupied, the app may use another local port. Always use the connected api base shown in the app.

Step 2: Add a provider
Section titled “Step 2: Add a provider”Open the Providers page and fill in:
NameBase URLAPI Key
For OpenAI-compatible relay services, the Base URL usually ends with /v1.
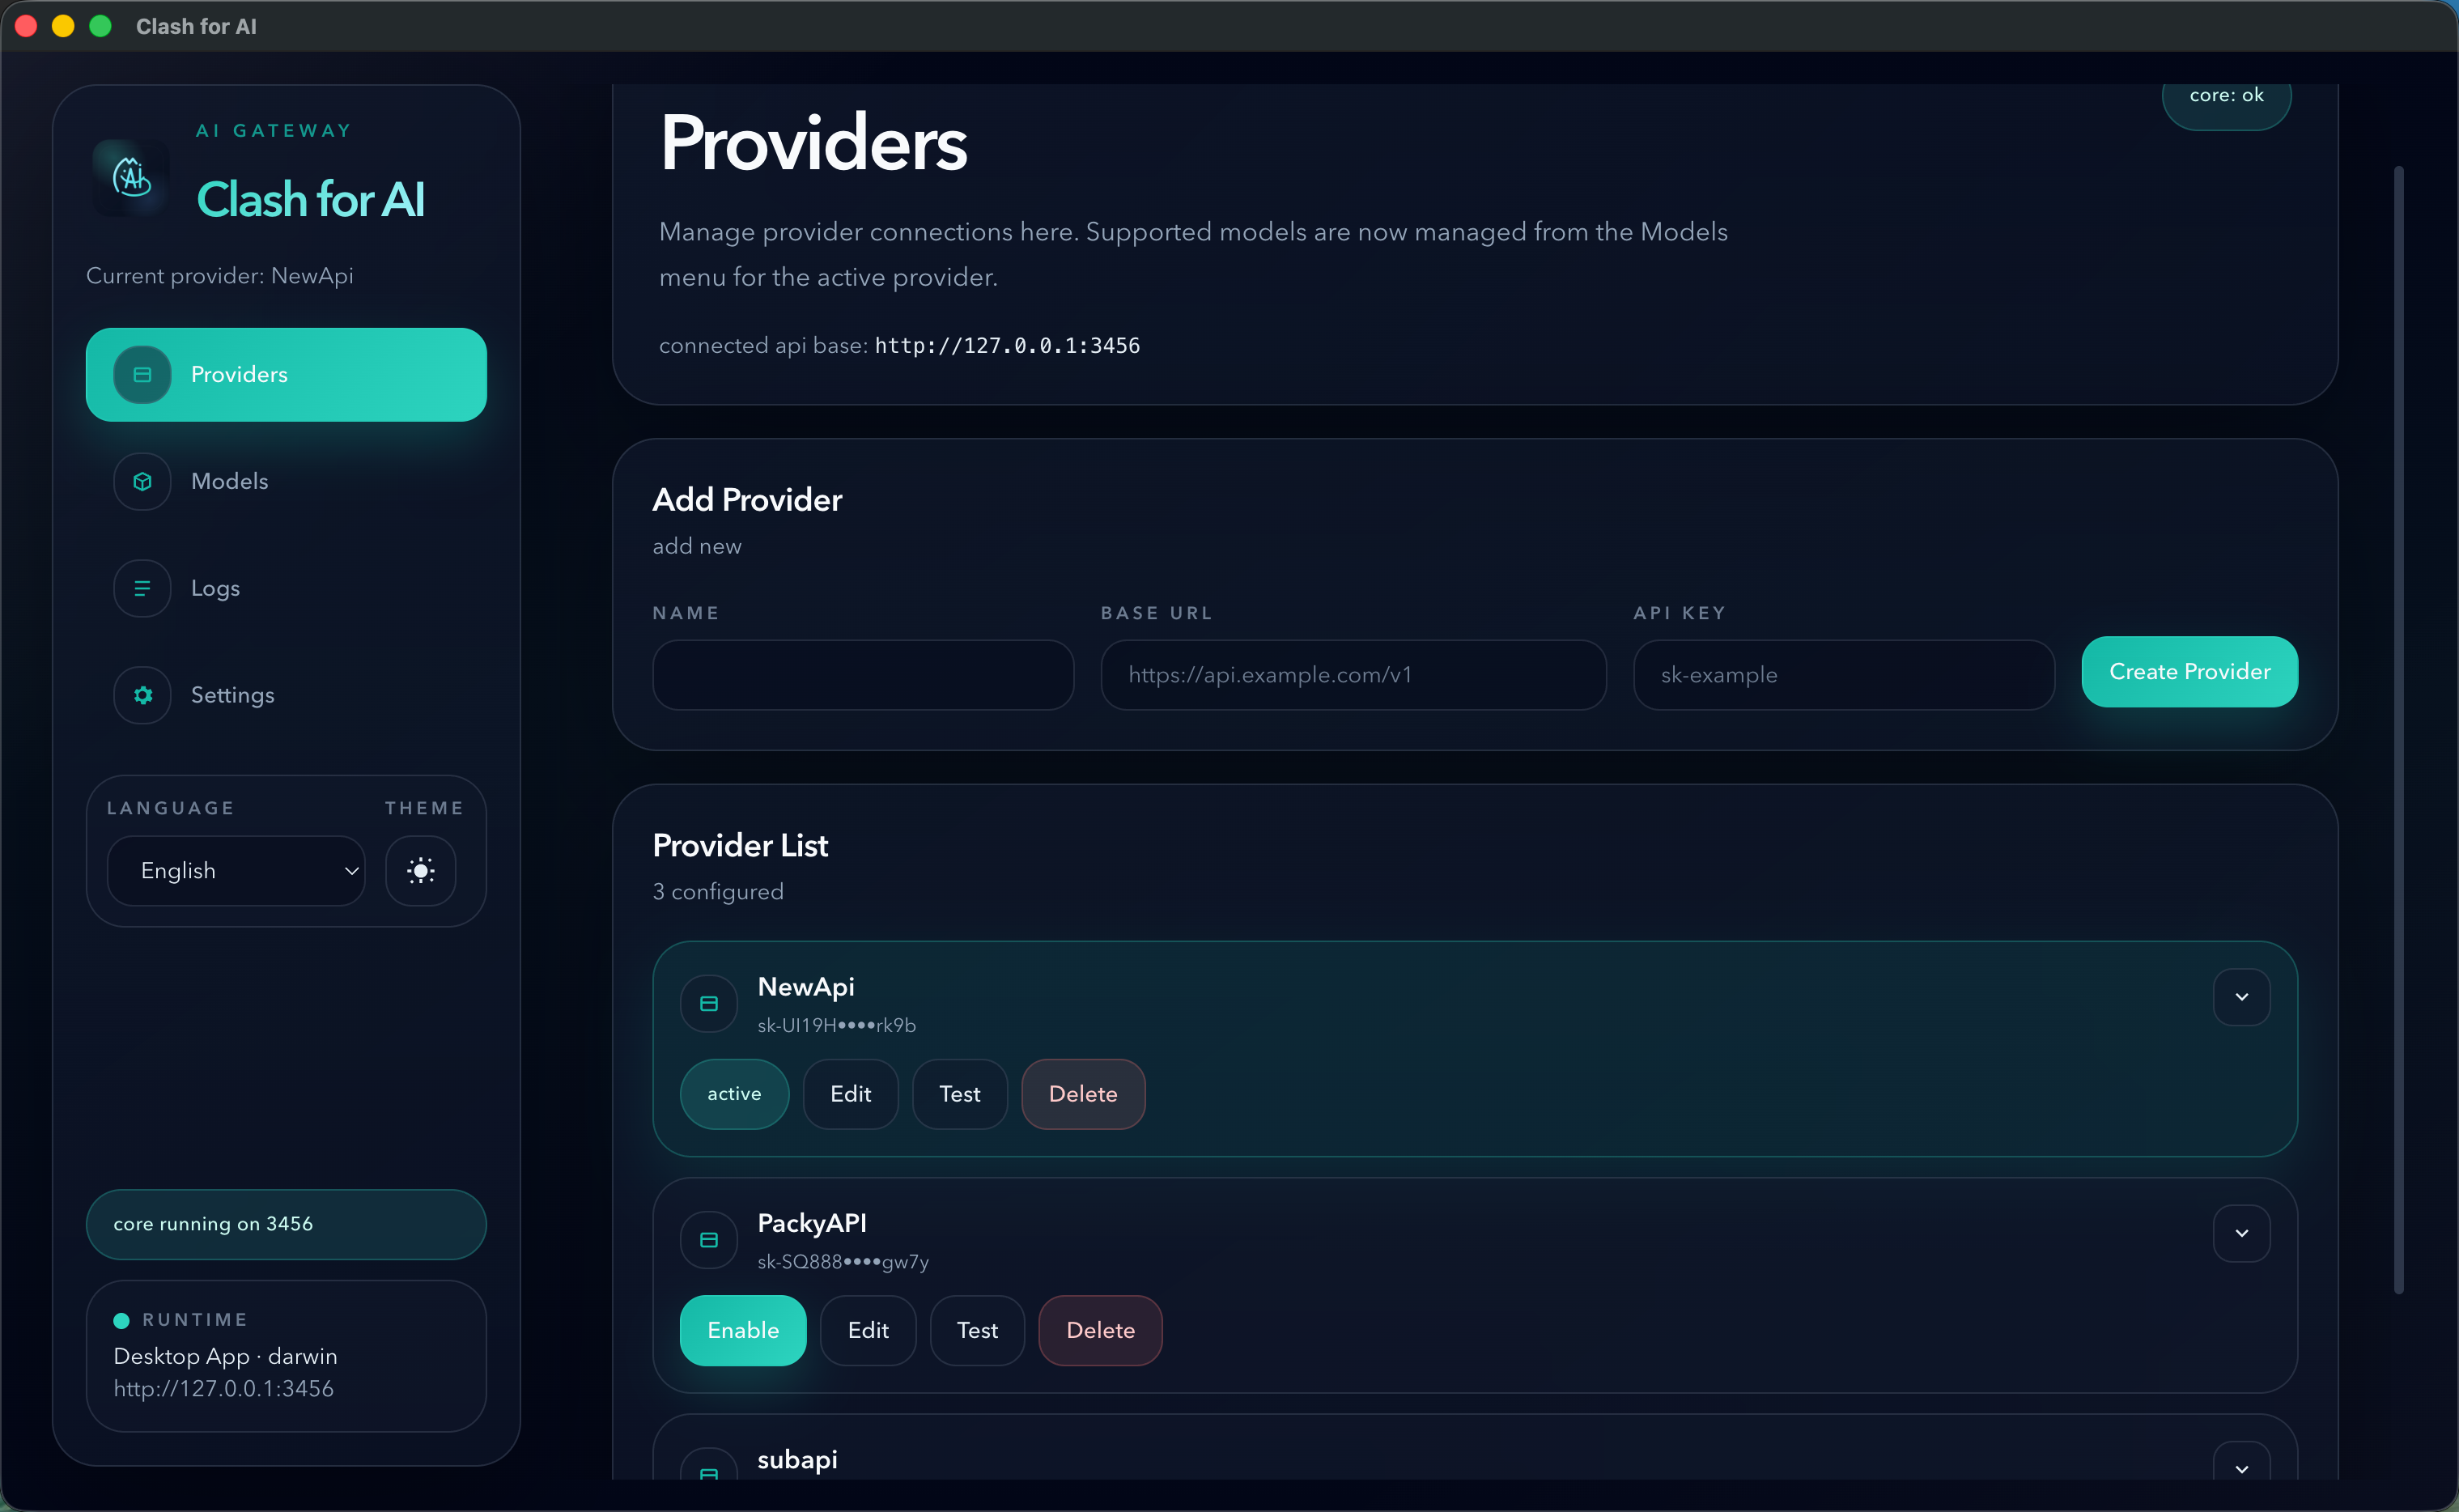
Step 3: Activate the provider
Section titled “Step 3: Activate the provider”If you have more than one provider configured, click Enable on the provider you want to use.
Only the active provider receives forwarded traffic.
Step 4: Configure your tool
Section titled “Step 4: Configure your tool”Most OpenAI-compatible tools can use:
Base URL: http://127.0.0.1:3456/v1API Key: dummyThe local key can usually be any non-empty string because the real upstream credential is stored and applied by Clash for AI.
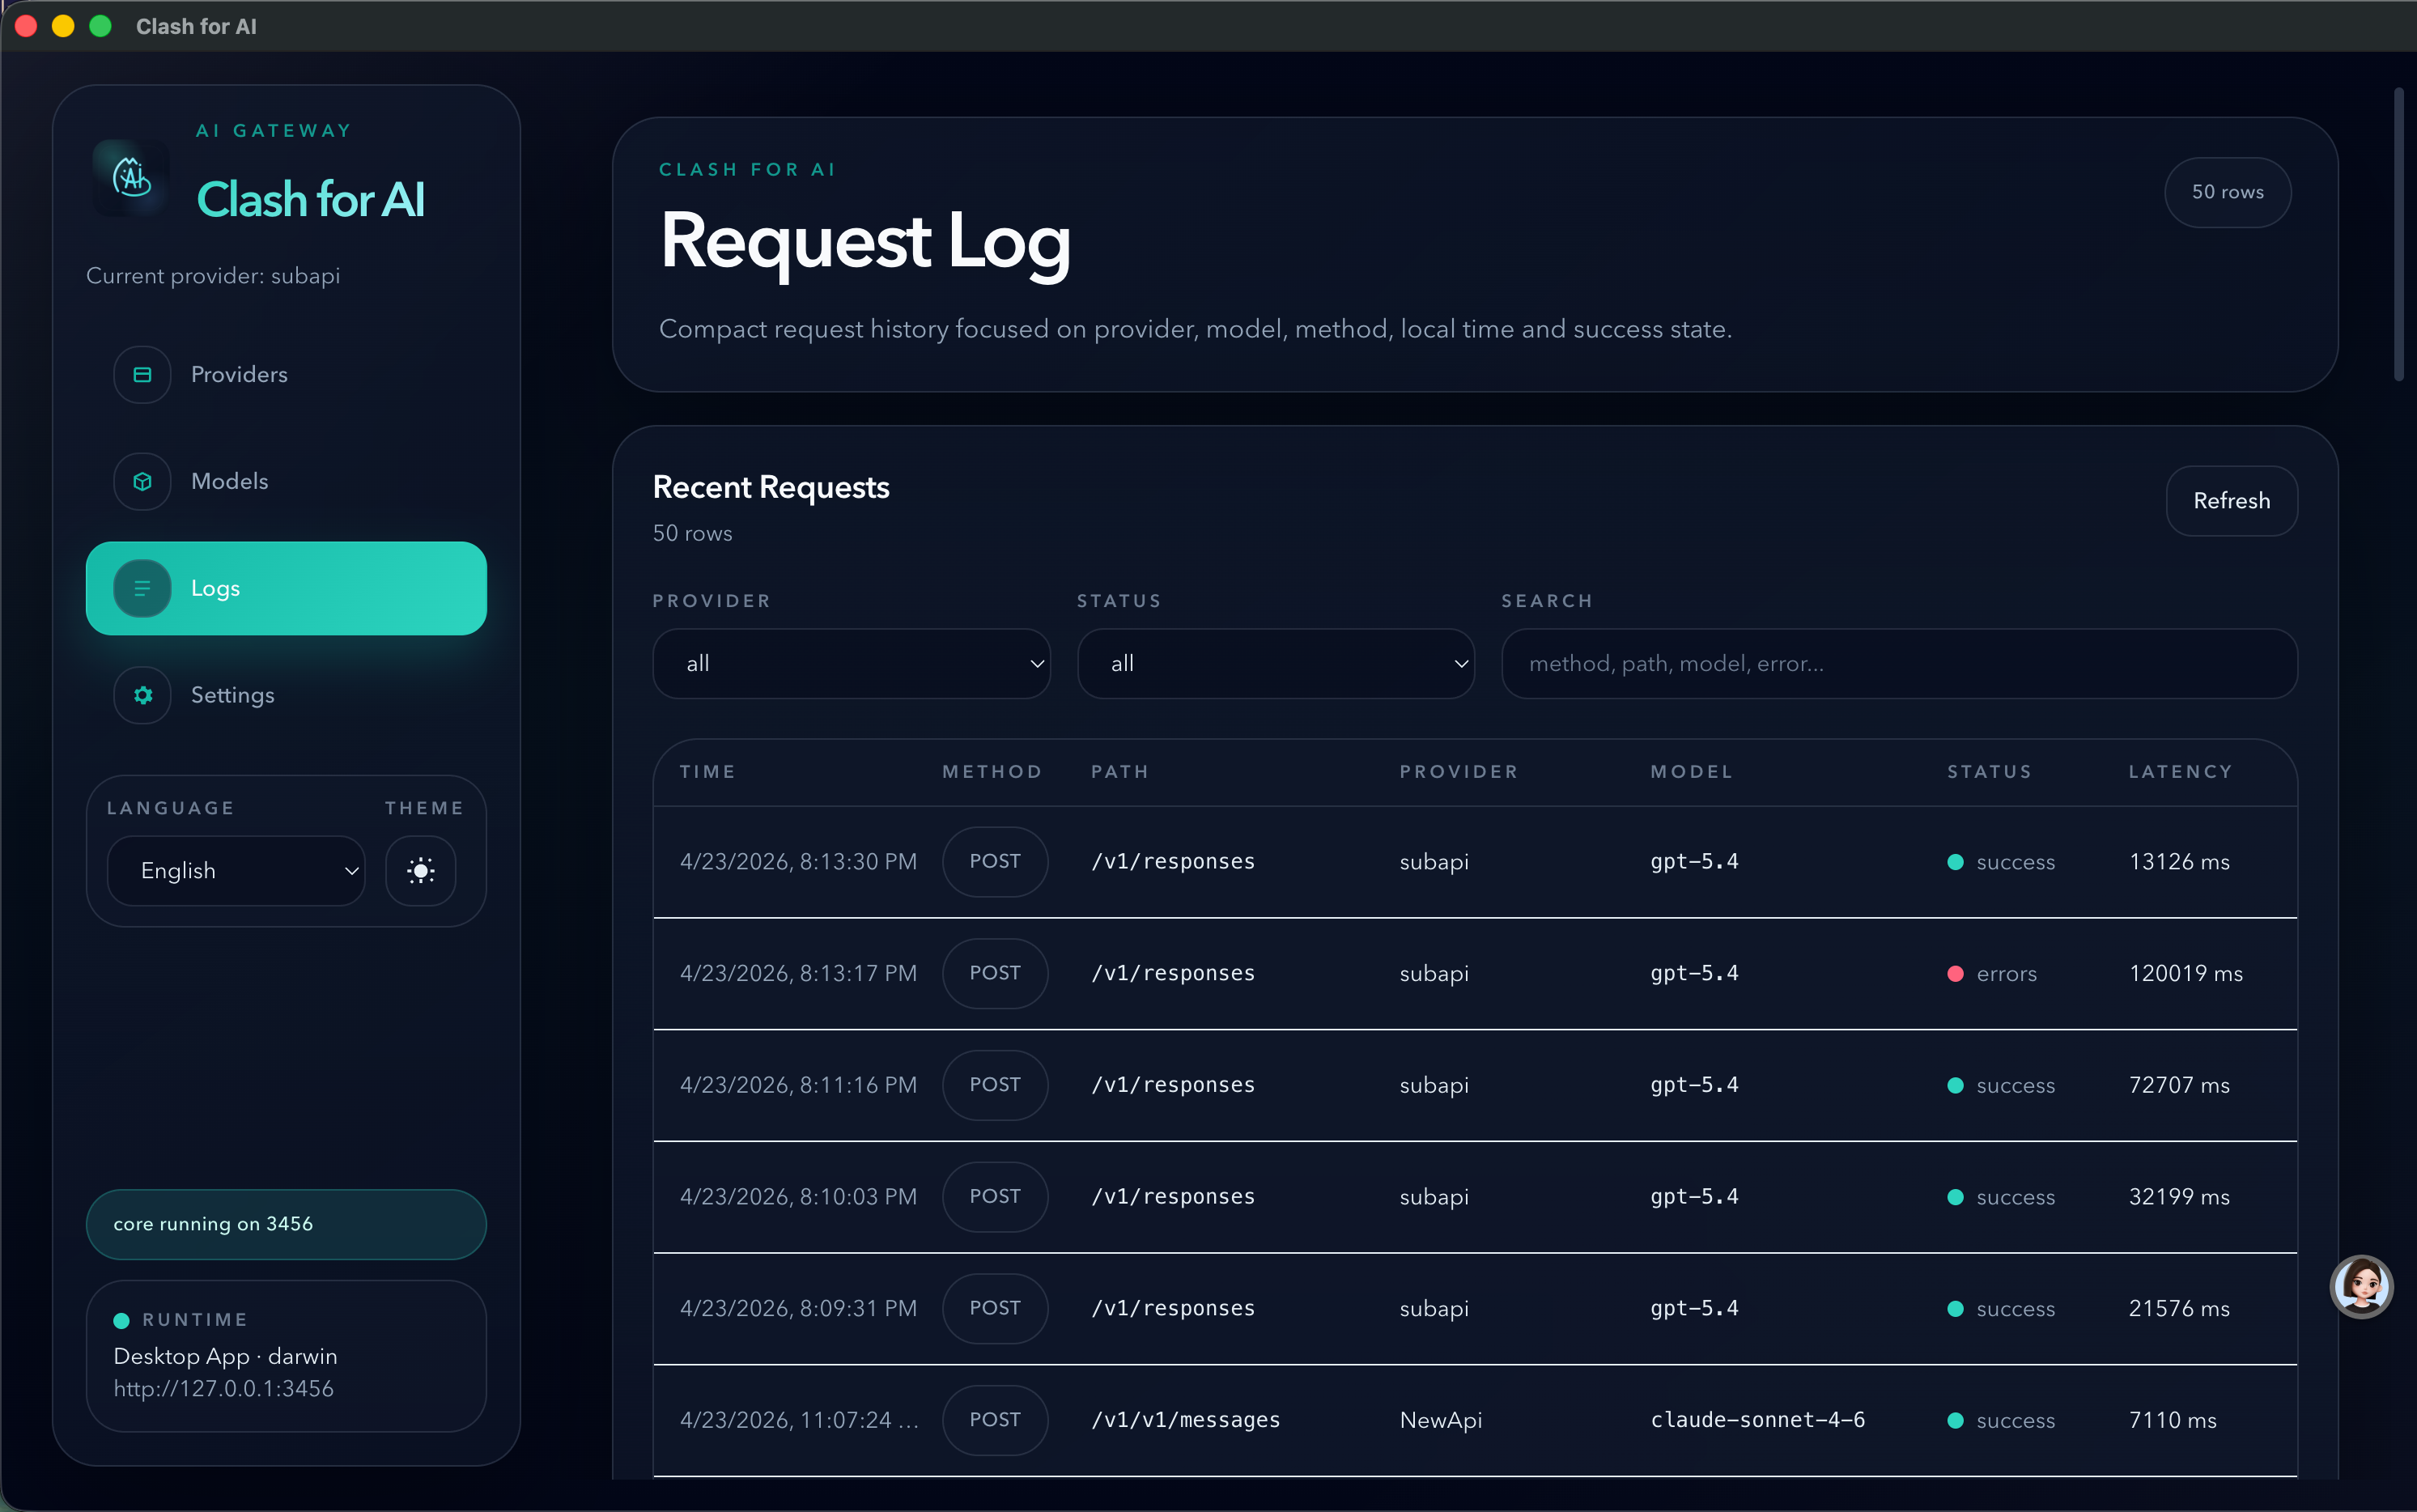
Step 5: Send a test request
Section titled “Step 5: Send a test request”After your tool is connected:
- Send a normal request.
- Open the
Logspage in Clash for AI. - Verify the request appears there.
If the request fails, start with the provider health check and then inspect the request log details.