Tool Integration
OpenAI-compatible tools
Section titled “OpenAI-compatible tools”If a tool supports a custom OpenAI-compatible Base URL, configure:
Base URL: http://127.0.0.1:3456/v1API Key: dummyThis works well for many coding assistants, desktop chat clients, and custom scripts.
CLI tools via environment variables
Section titled “CLI tools via environment variables”For CLI tools, the cleanest setup is usually to export environment variables in the current shell before launching the tool.
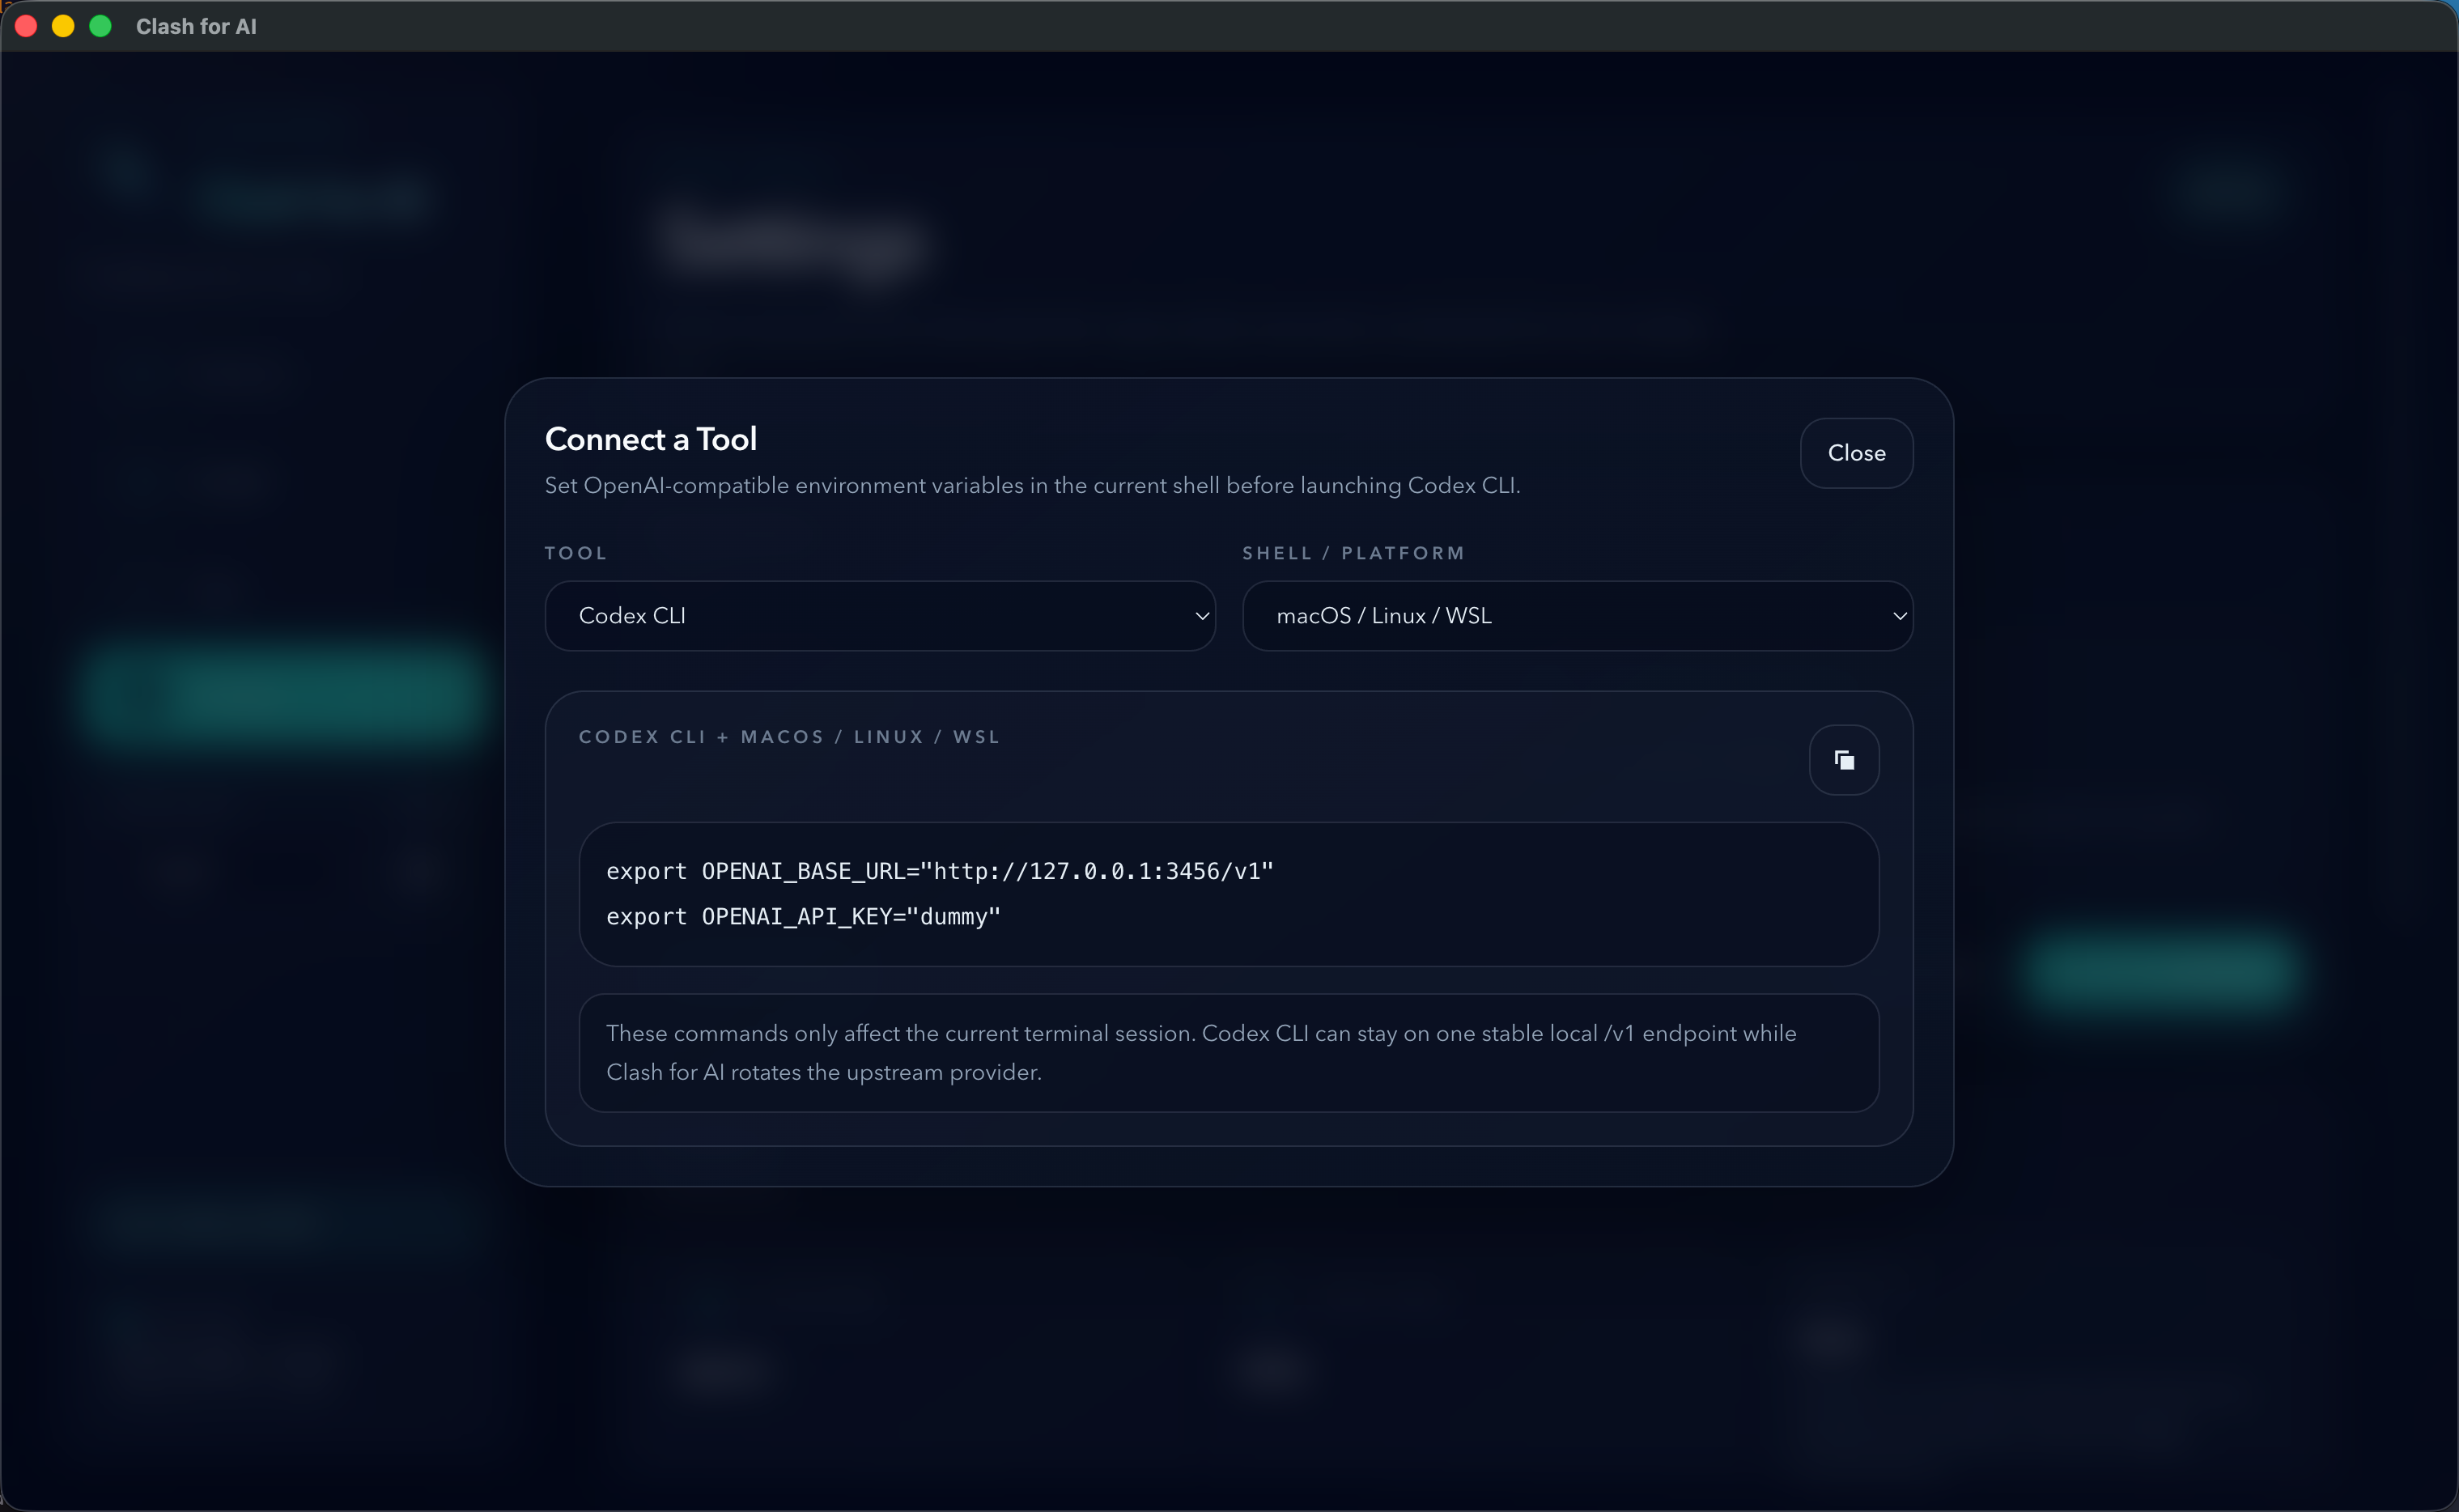
Codex CLI
Section titled “Codex CLI”Use standard OpenAI-compatible variables:
export OPENAI_BASE_URL="http://127.0.0.1:3456/v1"export OPENAI_API_KEY="dummy"Then launch Codex CLI from the same shell session.
This is the most stable pattern when you want Codex CLI to keep using one local endpoint while Clash for AI switches the upstream provider behind it.
OpenAI-compatible CLI tools
Section titled “OpenAI-compatible CLI tools”Many CLI tools that support custom OpenAI endpoints can use the same pattern:
export OPENAI_BASE_URL="http://127.0.0.1:3456/v1"export OPENAI_API_KEY="dummy"If the tool reads standard OpenAI environment variables, it can usually reuse Clash for AI directly.
Claude Code
Section titled “Claude Code”Claude Code style tools often use Anthropic-style settings. In Clash for AI, the local root URL without /v1 is used for Anthropic-compatible flows.
If your upstream provider is OpenAI-compatible only, use tools that allow an OpenAI-style custom endpoint instead.
Claude Code via environment variables
Section titled “Claude Code via environment variables”Use Anthropic-style variables:
export ANTHROPIC_BASE_URL="http://127.0.0.1:3456"export ANTHROPIC_AUTH_TOKEN="dummy"Then launch Claude Code from the same shell session.
For Anthropic-style requests, the local root URL is used without /v1.
IDEs and plugins
Section titled “IDEs and plugins”For IDEs, editor plugins, and desktop clients, the usual setup pattern is:
- open the tool’s provider settings,
- choose an OpenAI-compatible custom provider mode if available,
- fill in the local Base URL,
- fill in any non-empty API key,
- then choose a model supported by the active provider.
Cursor
Section titled “Cursor”Cursor usually expects manual provider fields inside the app.
Use:
Provider Type: OpenAI CompatibleBase URL: http://127.0.0.1:3456/v1API Key: dummyThen select a model supported by your active provider.
Cherry Studio
Section titled “Cherry Studio”Cherry Studio also expects in-app provider fields.
Use:
Provider Protocol: OpenAI CompatibleBase URL: http://127.0.0.1:3456/v1API Key: dummyIf Cherry Studio can fetch the model list from the active relay provider, you can select from that list. If not, you may need to type the model name manually, depending on the upstream service.
General IDE/plugin checklist
Section titled “General IDE/plugin checklist”If you are configuring another IDE or plugin, use this checklist:
- Look for a setting named
Base URL,API Base,Endpoint, orOpenAI Base URL - Enter the Clash for AI local endpoint with
/v1 - Use
dummyas the API key unless the tool requires another non-empty placeholder - Choose a model that the active provider actually supports
SDK scripts
Section titled “SDK scripts”For OpenAI SDK usage, point the SDK to the local endpoint and use any non-empty API key:
const client = new OpenAI({ apiKey: "dummy", baseURL: "http://127.0.0.1:3456/v1"});Important limitation
Section titled “Important limitation”Clash for AI is a local gateway and provider switcher. The client tool still chooses the requested model name.
The ordered models configured in Clash for AI only act as a fallback chain when the requested model is already inside that selected list and the upstream request fails with a retryable condition.